 In order to multitrack, you have to listen to one thing while simultaneously singing and recording another. If you’re listening to a click track, you don’t want those obnoxious clicks to bleed into your recordings. So, it’s crucial to use the right equipment so you can listen to your click track without it disrupting your recordings.
First, use wired headphones. Wired earbuds can work in a pinch, but they can leak sound, so if you’re using a sensitive microphone, the sound might still bleed over. You also want to avoid using wireless gear, because Bluetooth delays can cause major issues when recording.
Second, make sure your headphones are closed back. Headphones can generally be separated into two types: open backed and closed back. Open backed headphones are designed so you can hear external sounds around you, while closed back headphones are designed to block out external sound. Because open backed headphones allow external sound in, though, they also can allow sound out, so you can encounter the same bleeding issue you do with earbuds.
Third, shoot for over-ear headphones. These are designed to cover your entire ear, which can be very annoying for long periods of time. But when the headphone covers your whole ear, it forms a seal that makes it more unlikely for your click track to seep through. So while it’s possible to make good recordings without over-ear headphones, they’re often a great help.
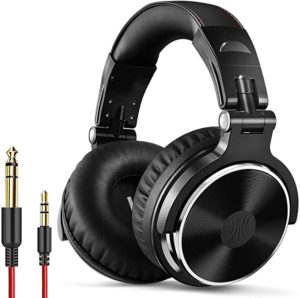
If you Google the best wired, closed back, over-ear headphones, you may see expensive brands like Beats show up. Unless you want to, don’t bother going for those; cheap headphones will do just fine. My headphones are from OneOdio, and I got them on sale for $20.
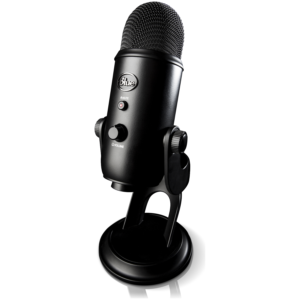 If you plan to multitrack consistently, you’ll want a good microphone to catch your sound. If you don’t record all that much, you might consider a USB microphone for higher convenience; Blue microphones, like the Blue Yeti, are especially solid. If you plan to record a lot, you might consider investing in an XLR microphone instead. XLR microphones will generally produce higher quality than USB ones, but they’re inherently more expensive, because they don’t plug straight into your computer. Instead, you have to buy the microphone, an XLR cable, and an audio interface, which will be able to plug into your computer. AudioTechnica makes great XLR microphones for relatively cheap prices, at least as far as microphones go… check out the AT2020 for a solid budget choice.
Once you have a microphone, you’ll also want to invest in a mic stand and a pop filter. Sometimes, you can get online microphone bundles that include these items, but if you don’t go for a bundle, you’ll have to buy them separately. Unless you want to record while sitting, you’ll want to invest in a tripod boom stand, which stands on the ground rather than a table as the Blue Yeti pictured above does. Meanwhile, pop filters prevent your sharper consonants (T’s and S’s especially) from sounding unnaturally loud in the mic. They also prevent you from accidentally spitting into the microphone, which will help preserve the electronics for longer.
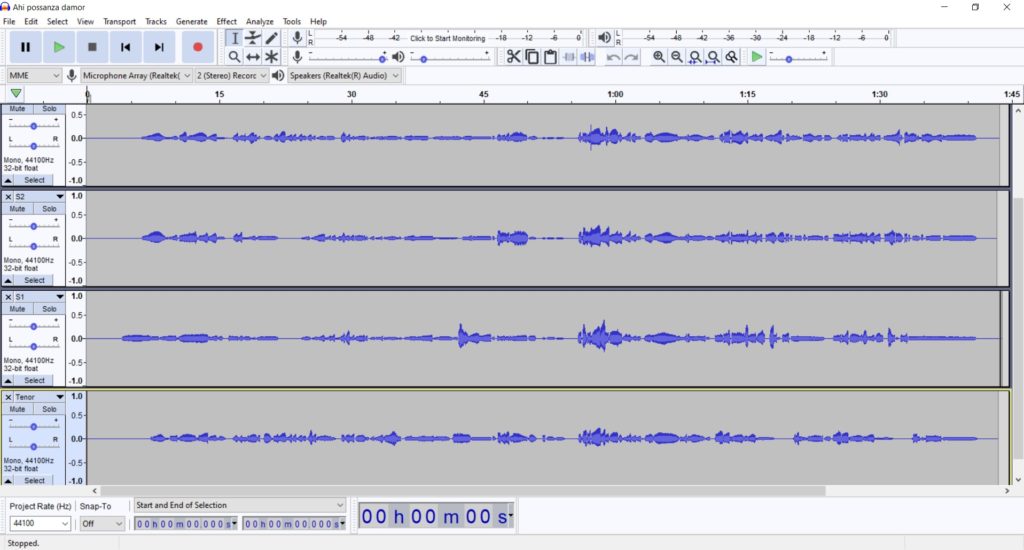
Once you have your gear, you’ll need a computer through which to record, but you’ll also need a DAW which will allow for recording, playback, and editing. If you have a Mac, congrats! Your computer comes with GarageBand, a free program that will allow you to do everything you need. If you are already subscribed to Adobe Creative Cloud, you might want to try Adobe Audition for a relatively little fee. I personally keep with my barbaric trends and use Audacity, a free, open-source program that works for PC and Mac. It looks old-fashioned and doesn’t have the fancy plugins of a costing DAW, but for multitracking, it’s completely serviceable.
This Post Has One Comment
Really informative and wonderful complex body part of articles, now that’s user friendly (:.